How to Choose Binoculars: The Decision Framework That Actually Works
Start with how you'll use them — not with specs, brands, or budgets. The right binoculars for a birder are wrong for a hunter. The right binoculars for concerts are wrong for stargazing. Every choice in binocular design is a tradeoff, and the best binocular is the one whose tradeoffs align with your priorities.
This guide walks through each decision in the order it matters: magnification first, then objective size, then coatings and prism type, then budget and brand. Most buying guides start with price. We start with physics — because a $300 binocular in the wrong configuration is a worse buy than a $150 binocular in the right one.
We've tested dozens of models across ten brands and analyzed over 50,000 user reviews to identify the patterns that separate good purchases from disappointing ones. The recurring theme: most buying regret comes from choosing the wrong configuration (magnification and objective size), not the wrong brand or price point. A buyer who picks the right 10x42 at $150 is happier a year later than a buyer who picks the wrong 12x50 at $300.
The framework below distills our research into a decision tree you can follow in ten minutes. Each step narrows the field until you're choosing between two or three specific models rather than drowning in a catalog of hundreds.
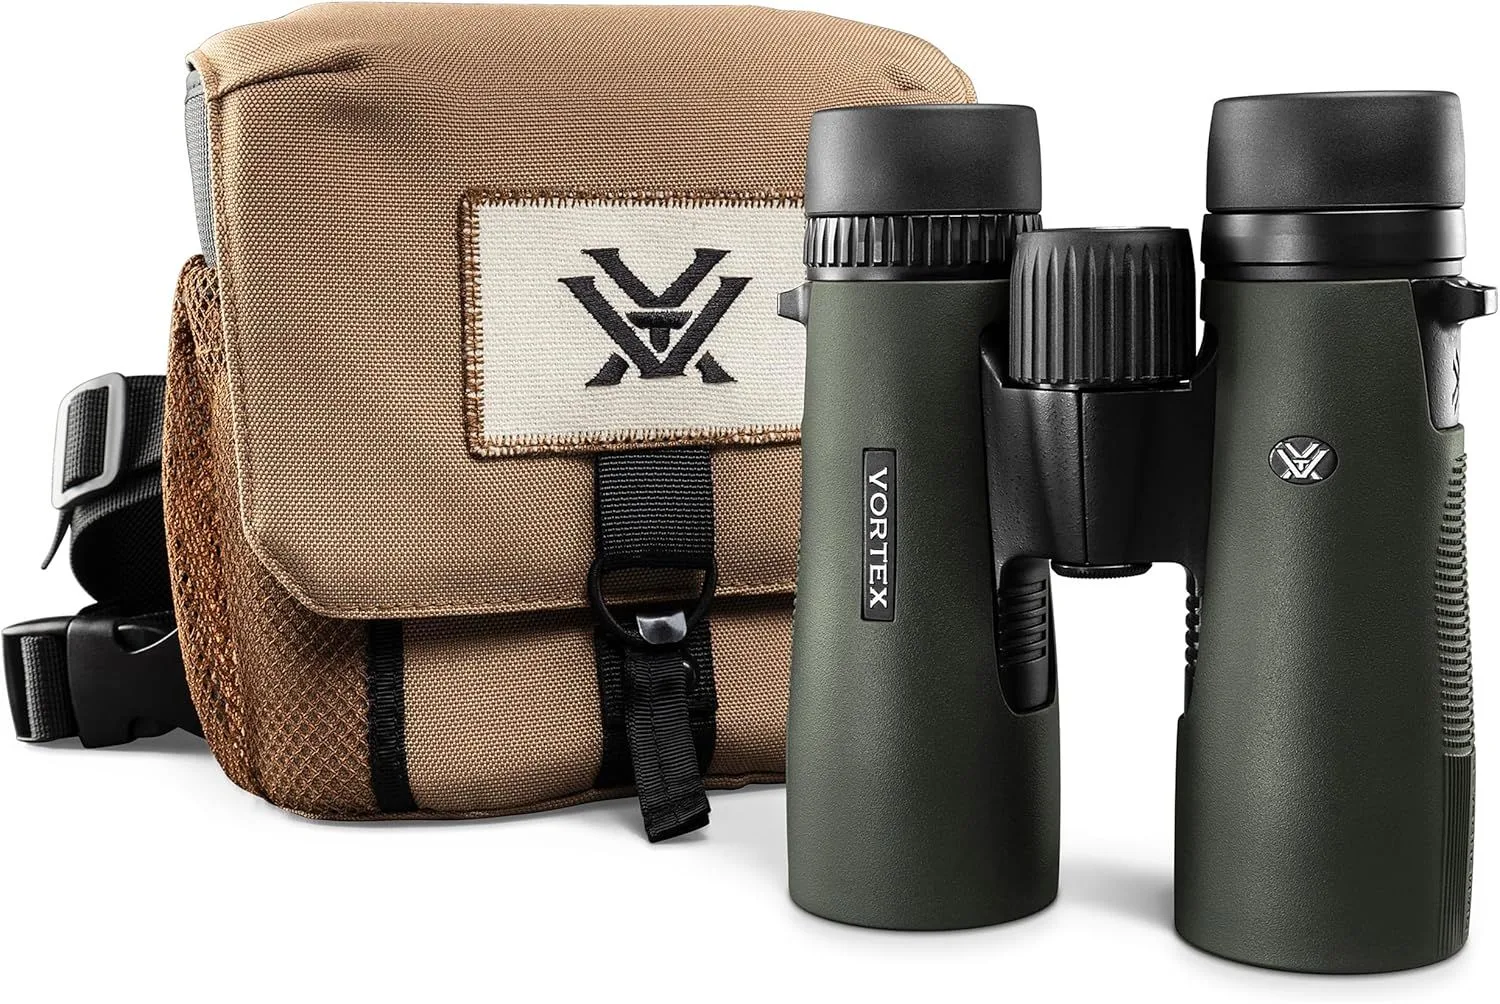
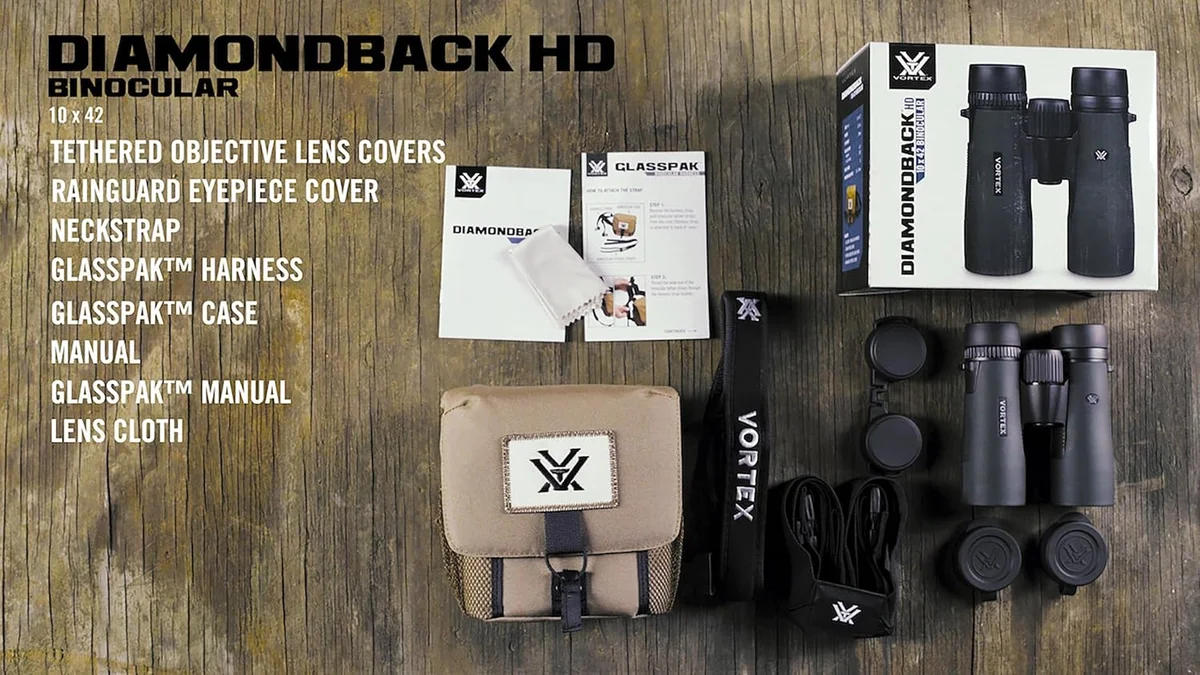
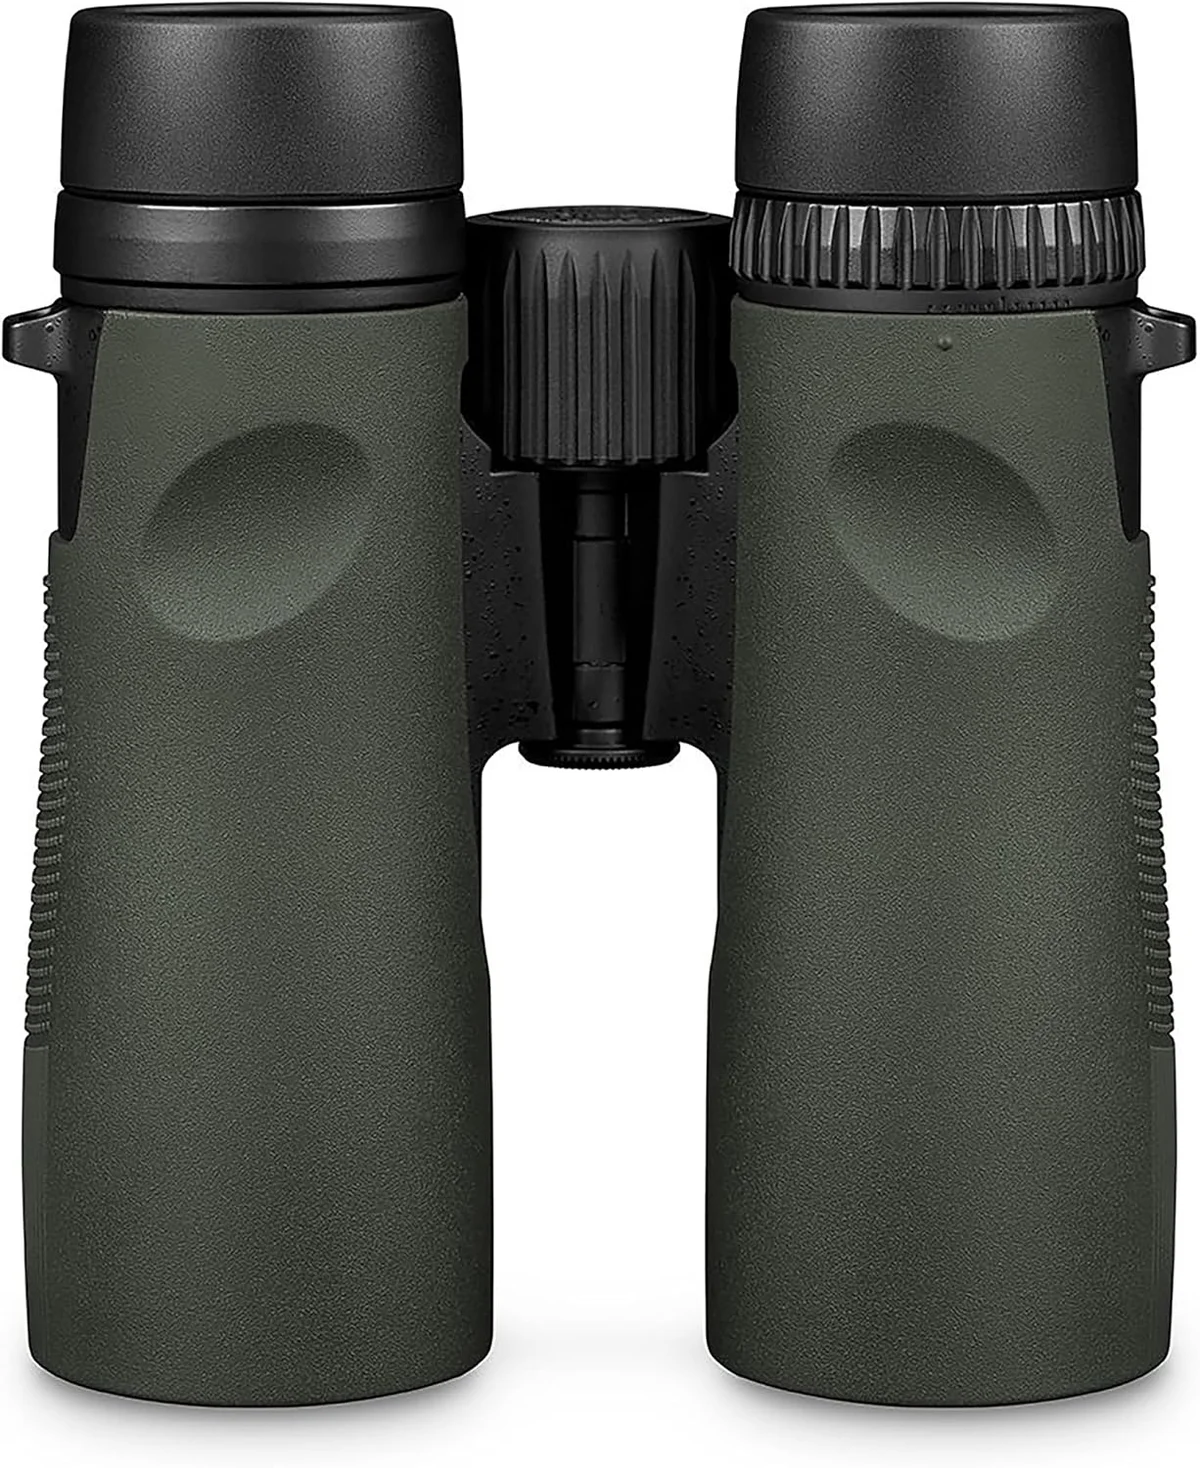
See Our Top Pick: Diamondback HD 10x42
Step 1: Choose Your Magnification
Magnification is the first number in any binocular designation — the "10" in 10x42. It controls how many times closer a subject appears. Higher numbers mean more detail at distance but amplify hand shake, narrow your field of view, and dim the image.
Here's the practical breakdown:
- 8x — Widest field, steadiest image, brightest view. Best for: birding in dense canopy, theater, stadium sports, any situation where you're tracking moving subjects at moderate range. The wider view lets you find and follow subjects faster.
- 10x — The all-around default. Enough reach for birding, hunting, hiking, and wildlife observation. Steady enough handheld for most adults. This is what we recommend if you're choosing one pair for everything.
- 12x — More detail at distance but noticeable hand shake for most users. Best on a tripod or braced against a solid surface. Not recommended as your only binocular unless you're committed to stationary observation.
The practical rule of thumb: if you'll hold the binoculars up for more than a few minutes at a time, stay at 10x or below. Above 10x, fatigue and shake eat into the resolution advantage faster than most buyers expect. Our 10x42 vs 12x50 comparison demonstrates exactly how this tradeoff plays out in the field.
Step 2: Choose Your Objective Size
The second number — the "42" in 10x42 — is the diameter of the front lenses in millimeters. Larger objectives gather more light, which means brighter images, especially in dim conditions. The tradeoff is weight and bulk.
Common configurations and their use cases:
- 25mm (compact) — Pocket-sized. Lightweight. Dim in anything less than daylight. Best for concerts, travel, kids, and anyone who values portability above optical quality. See our compact binoculars roundup for the best options.
- 32mm (mid-size) — A compromise that works well for daytime birding and hiking. Lighter than 42mm with reasonable brightness. Less common in budget ranges.
- 42mm (full-size) — The standard for serious outdoor use. Bright enough for dawn and dusk. Heavy enough that a harness is recommended for all-day carry. This is what most of our top-rated full-size models use.
- 50mm+ — Specialized for low-light and astronomical use. Too heavy for casual carry. Requires a tripod for magnifications above 10x. Worth considering for dedicated stationary observation only.
Step 3: Understand Coatings (The Hidden Multiplier)
Coatings determine how much light actually reaches your eye. Two binoculars with identical magnification and objective size can differ by 20+ percentage points in light transmission based on coating quality alone. This is where price makes the biggest optical difference.
The coating tiers, from worst to best:
- Coated (C) — One layer on one surface. Found on sub-$30 optics. Rejects minimal glare. Avoid.
- Fully Coated (FC) — One layer on every air-to-glass surface. Better than nothing. Found on $30-60 compacts.
- Multi-Coated (MC) — Multiple layers on some surfaces, single on others. A common mid-range shortcut. Inconsistent results.
- Fully Multi-Coated (FMC) — Multiple layers on every surface. The minimum standard for serious optics. Every binocular we recommend at $100+ carries this designation.
Beyond FMC, two premium treatments make a visible difference:
- Dielectric coatings on the prism mirrors push reflectivity above 99% per surface (vs ~87% for standard aluminum). The Diamondback HD 10x42 review shows these coatings in action — the Crossfire HD without dielectric coatings is visibly dimmer side-by-side. The brightness gap is visible side-by-side.
- Phase correction on roof prisms fixes the light-wave misalignment that reduces contrast and resolution. This is the single biggest optical upgrade in the $150-$250 range. Our Crossfire vs Diamondback comparison demonstrates the phase correction difference in detail.
For a deeper technical explanation, our guide to binocular coatings breaks down each tier with transmission data.
Step 4: Roof Prism vs Porro Prism
Prisms flip the inverted image from the objective lenses right-side-up. The two designs handle this differently, and the choice affects size, weight, durability, and optical performance.
Roof prism binoculars have a straight barrel design — sleek, compact, and the dominant format for modern outdoor optics. They're more durable (sealed better), easier to hold, and lighter at equivalent specifications. The downside: roof prisms need phase correction coatings to match porro prism brightness, which adds cost. Without phase correction, a roof prism binocular will always be slightly dimmer than a porro prism equivalent.
Porro prism binoculars have the classic offset design — wider body, stepped appearance. They're optically simpler and deliver brighter images at the same price point because they don't need phase correction. The tradeoff: larger, heavier, harder to seal against water, and less durable in hard use. Porro prisms are rare in modern full-size binoculars above $150 but remain popular in compact designs.
Our recommendation: roof prism for any binocular over $100. Below $100, porro prism compacts like the Occer 12x25 compact binocular can deliver decent brightness for the price. Our prism types guide covers the physics in more depth.
Step 5: Set Your Budget Realistically
Binocular quality scales with price in a predictable curve with diminishing returns. Here's what each tier actually buys you:
- Under $50 — Functional magnification in a pocket package. Expect dim images, poor edge sharpness, and no warranty worth mentioning. Good for kids, events, and throwaway travel use. The Hontry 10x25 at under $25 represents this tier honestly.
- $50-$100 — Better glass, better coatings, the beginning of real brands. The Vortex Triumph HD at $99 is the standout here — good center sharpness and a lifetime warranty that no competitor matches at this price.
- $100-$200 — The sweet spot for first serious binoculars. FMC optics, waterproof construction, comfortable ergonomics. The Crossfire HD at $149 represents the ceiling of what you get without phase correction.
- $200-$400 — Phase correction and dielectric coatings enter the picture. The Diamondback HD at $224 is the entry point. Images are noticeably brighter, edges stay sharper, and color accuracy improves. This is where binoculars stop being "good for the price" and start being "good."
- $400+ — ED glass for chromatic aberration control, tighter manufacturing tolerances, premium materials. Diminishing returns start here. The improvements are real but smaller with each dollar spent.
Our honest recommendation: spend at least $100 to get into the quality range where binoculars are a pleasure to use rather than a compromise to endure. If you can stretch to $200-250, the optical upgrade is the biggest single jump in the entire price spectrum. That $200-250 sweet spot is where phase correction and dielectric coatings appear — technologies that produce a visible, immediate improvement that even non-enthusiasts notice within seconds of looking through the eyepiece.
One budget principle we stand behind: buy the best binocular you can afford in the right configuration rather than a lesser binocular in the wrong one. A well-chosen $150 10x42 with FMC coatings will outperform a $300 12x50 with ED glass if the 12x50 shakes too much for your intended use. Configuration comes first. Quality scales with budget. Neither substitutes for the other.
Step 6: Match Configuration to Activity
With the framework above, here's how the pieces fit together for common use cases:
- Birding — 8x42 or 10x42 with phase correction. Wide FOV for tracking, close focus under 7 ft for feeders, and the best edge sharpness you can afford. See our birding binoculars guide for specific recommendations.
- Hunting — 10x42 with FMC minimum, waterproof mandatory. Low-light performance matters most — dawn and dusk are when decisions happen. Rugged construction that survives weather, recoil proximity, and being dropped. Our hunting binoculars roundup ranks the options.
- Hiking/travel — Weight is the deciding factor. Compact (25mm) for casual use, mid-size (32mm) for moderate birding along the trail, full-size (42mm) if wildlife viewing is a primary goal rather than incidental. Our hiking guide covers the weight-versus-capability tradeoff.
- Concerts and events — Compact (25mm) for pocketability. 8x or 10x. Image quality is secondary to portability — you'll use them for 30-second bursts, not extended observation. Our compact roundup covers the best pocket options.
- Astronomy/stargazing — Large objectives (50mm+), lower magnification (7x-10x), and tripod mounting. Exit pupil above 5mm is critical for faint objects. A completely different optimization profile from daytime use, and one we cover separately.
Step 7: Check These Three Things Before Buying
Before committing to a specific model, verify three factors that spec sheets often obscure:
1. Eye relief (if you wear glasses). You need 14mm minimum for comfortable viewing with spectacles. Below 14mm, you'll see a restricted field with dark edges. Our eye relief guide identifies which models in our catalog pass the glasses test.
2. Warranty terms. Binoculars take abuse — drops, weather, temperature swings, dust. A strong warranty turns a good purchase into a decades-long investment. Vortex's VIP Unconditional Lifetime Warranty is the gold standard — it covers every model from $99 to $2,000, no receipt required, forever. This single feature should weight heavily in any brand comparison.
3. Close focus distance. If you'll observe subjects within 15 feet — feeders, flowers, insects, butterflies — check the minimum focus distance. Range varies enormously from 5 ft on the Diamondback HD to 15.4 ft on the Triumph HD. A binocular that can't focus on your bird feeder eight feet from the window is a binocular that misses your most frequent and most enjoyable viewing opportunity. This spec is hidden in most spec sheets but should be a primary consideration for anyone with a backyard feeding station.
Our Top Recommendation
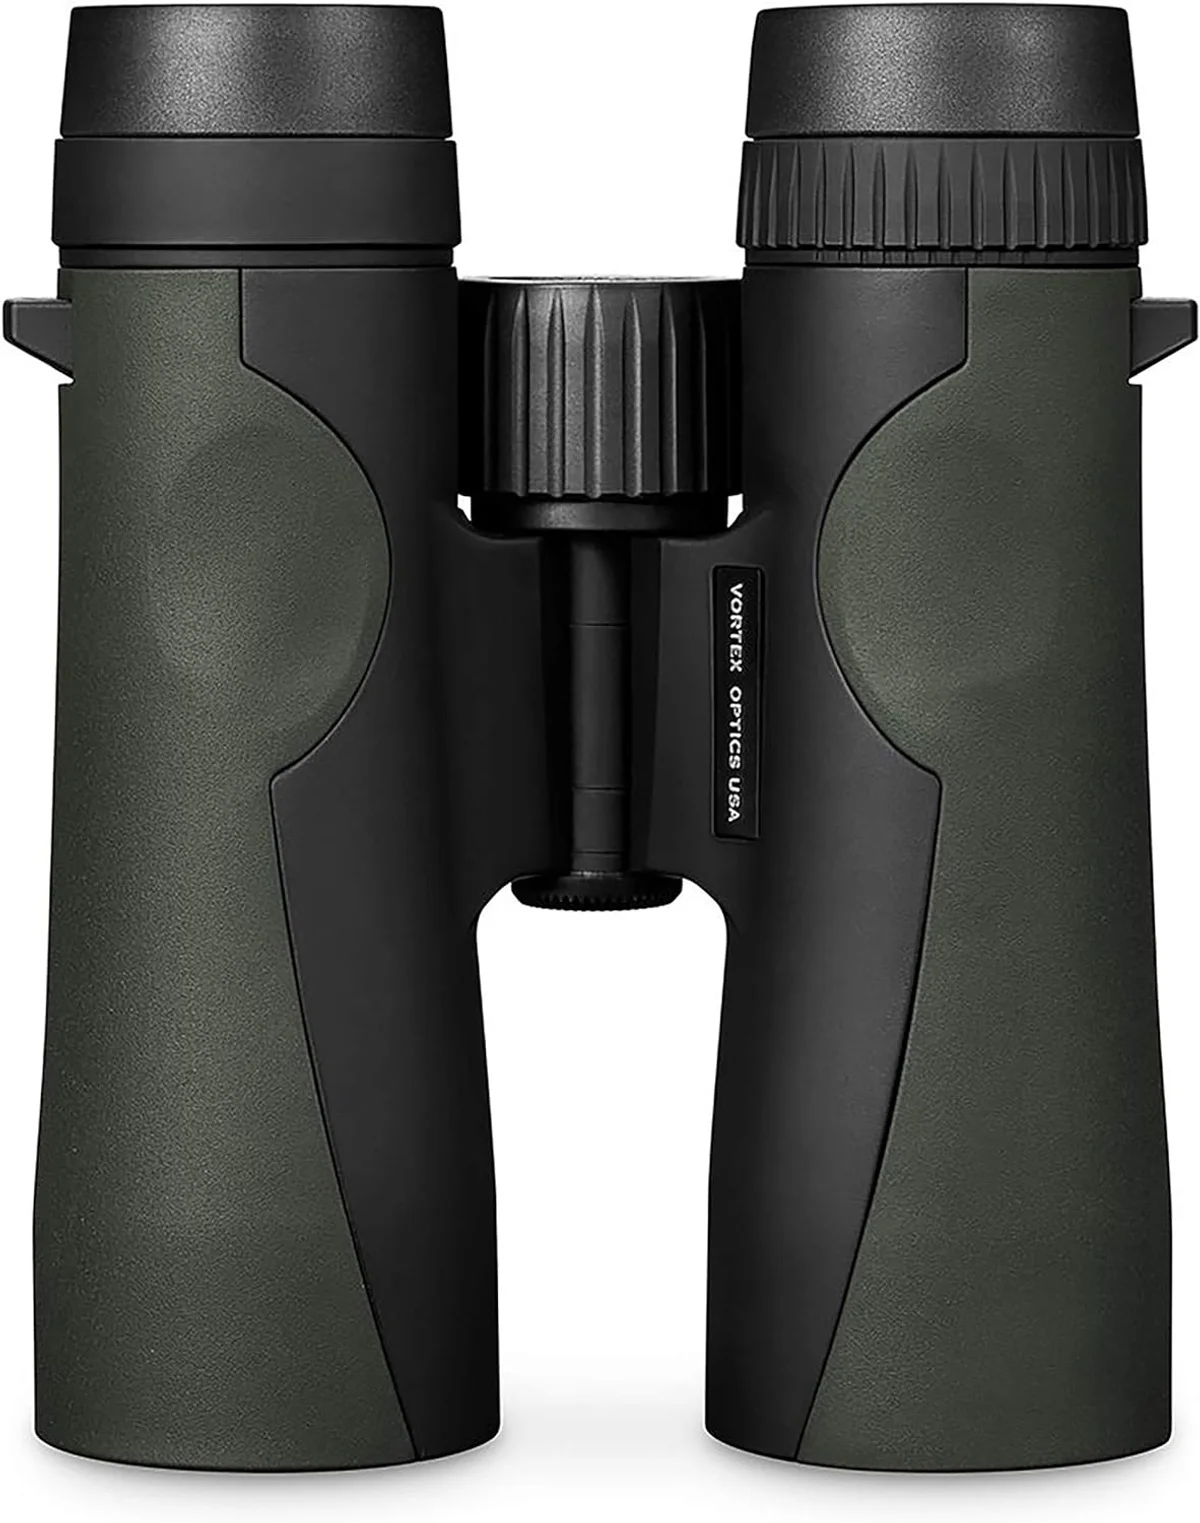
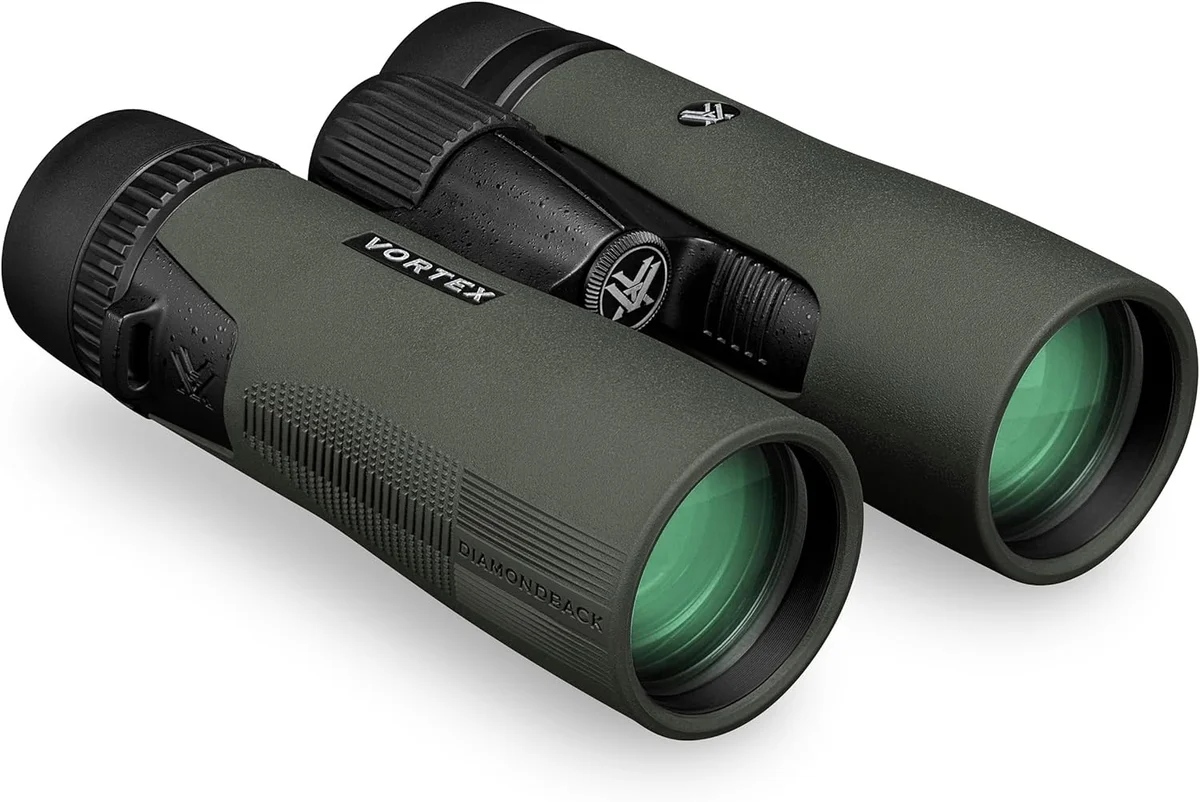
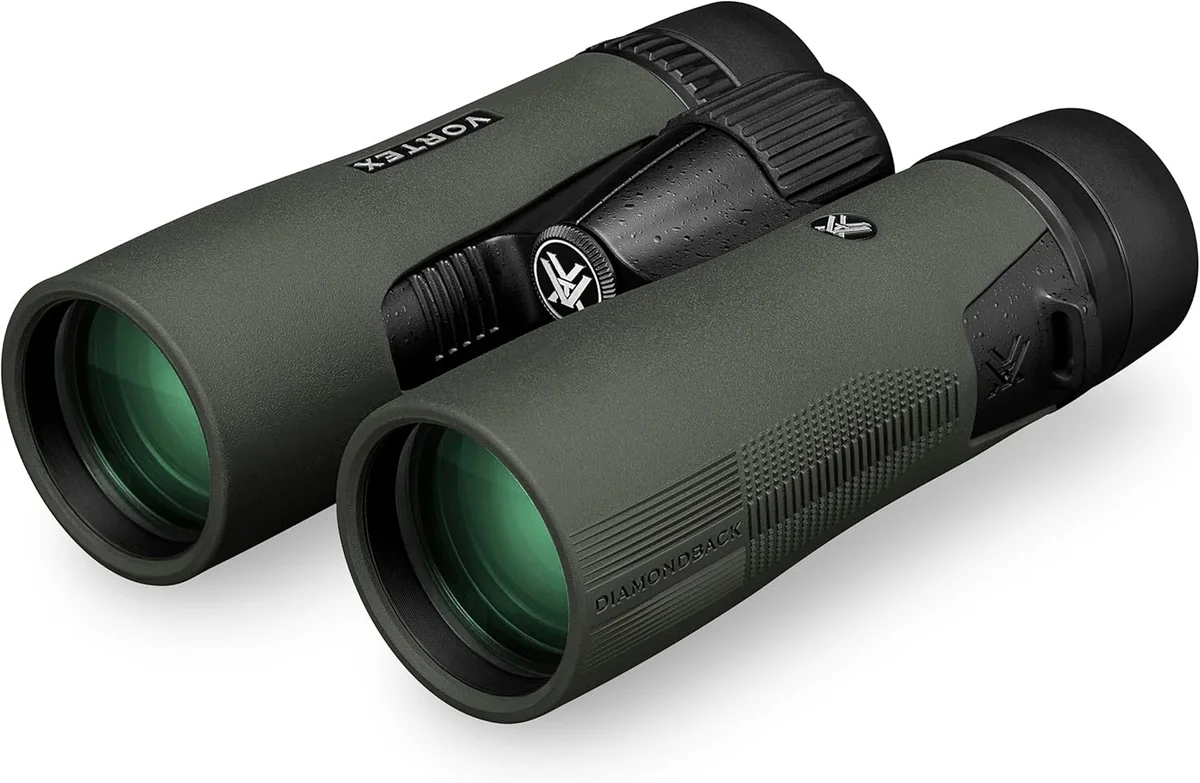
For most first-time buyers, the Vortex Diamondback HD 10x42 in the $100–$250 range hits the sweet spot. Phase correction, dielectric coatings, 5 ft close focus, and the Vortex VIP warranty. It's the point where optical quality crosses from "acceptable" to "good" — and "good" is where binoculars become a joy rather than a tool.
If that stretches the budget, the Crossfire HD at $50 less delivers 90% of the experience without phase correction. If the budget ceiling is firm at $100, the Triumph HD earns the warranty premium over every competitor at that price.
Whatever you choose, avoid the most common mistake in binocular buying: optimizing for magnification over quality. A sharp, bright 8x42 beats a dim, shaky 12x50 in virtually every real-world scenario. We've seen too many buyers return high-magnification binoculars within a month because they couldn't hold the image steady. Buy the right configuration first, then upgrade the optical quality when the budget allows.
Quick Answers to Common Binocular Questions
These questions come up in nearly every binocular buying conversation — from first-timers at outdoor shops to experienced users upgrading from entry-level glass.
What magnification is best for general outdoor use?
10x is the sweet spot for most people. It provides enough reach to identify birds at 100 yards, read trail markers at distance, and glass a hillside for wildlife — without the hand shake that plagues 12x and higher. If you primarily watch birds in close canopy or at feeders, 8x gives a wider field of view. Avoid 12x+ unless you plan to use a tripod.
How much do binoculars cost for a good first pair?
Between $100 and $250 gets you into the optical quality range where binoculars stop being toys and start being tools. Below $100, you get functional optics but with real compromises in low-light performance and edge sharpness. Above $250, you get phase correction and dielectric coatings that make a visible difference. The Vortex Crossfire HD at around $150 is the most common starting point for serious users.
Are waterproof binoculars worth the extra cost?
If you plan to use them outdoors in any season, yes. Waterproof binoculars are sealed against rain, splashes, and humidity changes that cause internal fogging. Non-waterproof models can develop permanent internal condensation after a single temperature swing. Every binocular over $80 that we recommend is nitrogen or argon purged for fog-proofing.
What does "fully multi-coated" mean and does it matter?
Fully multi-coated (FMC) means every air-to-glass surface has multiple anti-reflective coating layers. Each uncoated surface reflects about 4% of light — in a binocular with 10+ surfaces, that adds up fast. FMC reduces reflections to under 0.5% per surface, delivering brighter, higher-contrast images. It is the single most important spec after magnification and objective size. Never buy binoculars that are merely "coated" or "multi-coated" — insist on fully multi-coated.
Are expensive binoculars really that much better?
Yes, but with diminishing returns. The jump from $50 to $150 is enormous — night-and-day difference in image quality. The jump from $150 to $300 is significant — phase correction and dielectric coatings add real brightness and contrast. The jump from $300 to $1,000 is subtle — tighter tolerances, ED glass, better chromatic aberration control. Above $1,000, you are paying for the last 5% of optical perfection. Most users hit their satisfaction ceiling between $200 and $400.
Do binoculars work for glasses wearers?
Yes, but eye relief must be 14mm or higher for comfortable viewing with spectacles. Below 14mm, you cannot position your eye far enough back to see the full field of view. The Vortex Triumph HD at 17mm is excellent for glasses wearers. The Crossfire and Diamondback at 15mm are workable but tight with larger frames.
Our Top Recommendation
Based on our research, the Diamondback HD 10x42 is our top pick — hunters and birders who want the best glass under $300 with a lifetime warranty.
Get Our Top 3 Picks
Get our top 3 picks for your budget — one email, then only updates.
Only when something changes. Unsubscribe anytime.